CSV Upload Tool: How to Unlock Self-Service Data Ingestion
Companies often have a wide range of customers that need to upload files to use the product. However, there is often no consistency in file format, number of fields, and values within the cells. Often times customer data needs validating before being accepted into your operational system. Plus, larger clients end up asking for unique data requests and configurations, which end up taking a lot of engineering time to support.
For example, you just landed a new customer who's ready to send data via CSV. The problem is, you have no idea if their data fields align with the format and schema of your systems. Rather than quickly onboarding and activating their data, you worry about the time it will take to clean the data, track and fix errors, and manage time-consuming workflows across teams.
Using an AI-powered data cleanup takes those worries away. CSV file uploaders allow your company to quickly create a simple self-serve experience for customers and partners to send clean data directly to your systems.
Let's walk through the process of creating an Osmos Uploader in less than 15 mins. You'll learn how to create your own Osmos Uploader, configure fields, customize the experience, and see how intuitive our no-code data transformation enable non-technical users to quickly clean, map, and validate data.
By the end, you'll know that any uploaded CSVs entering your target systems matches your schema and is ready to use.
Upload CSV Files with Self-Service Data Uploaders
Before embedding the Osmos Uploader to your web page or app, you need to create a destination connector. The destination connector is where you want to ingest the data, such as Amazon S3, BigQuery, Snowflake, or Google Sheets.
Once the connector is built, you can create and connect the Uploader so customers can send clean data directly into the destination. Let's dive into that four step process:
- Step 1. Create a Data Uploader
- Step 2. Configure and Style the Uploader Button
- Step 3. Embed the Uploader
- Step 4. Import Clean, Usable Data
1. Configure Your CSV File Uploader
It only takes a few seconds to set up the Osmos Uploader.
In the Osmos platform, click the New Uploader button. A list of Destination Connectors will appear, grouped by Source types. The destination is where the clean data goes after a customer or third-party upload. You can connect to various systems using Osmos, such as Amazon S3, Google BigQuery, FTP, Google Drive, MySQL, Snowflake, and more.
Choose a Destination Connector for the incoming data, and then add a Name and Description for the Uploader.

Once you save this information, the Configuration screen will pop up.
2. Customize and Style the Osmos CSV Uploader
Once you save the Osmos Uploader, a simple JavaScript snippet appears where you can see all of the fields for the destination connector. This snippet can be embedded into any web property through a simple copy and paste. But before doing so, you can customize it to ensure the data you receive is clean, relevant, and useful.
Take a few moments to pass hidden parameters or change the display name and description for each field.
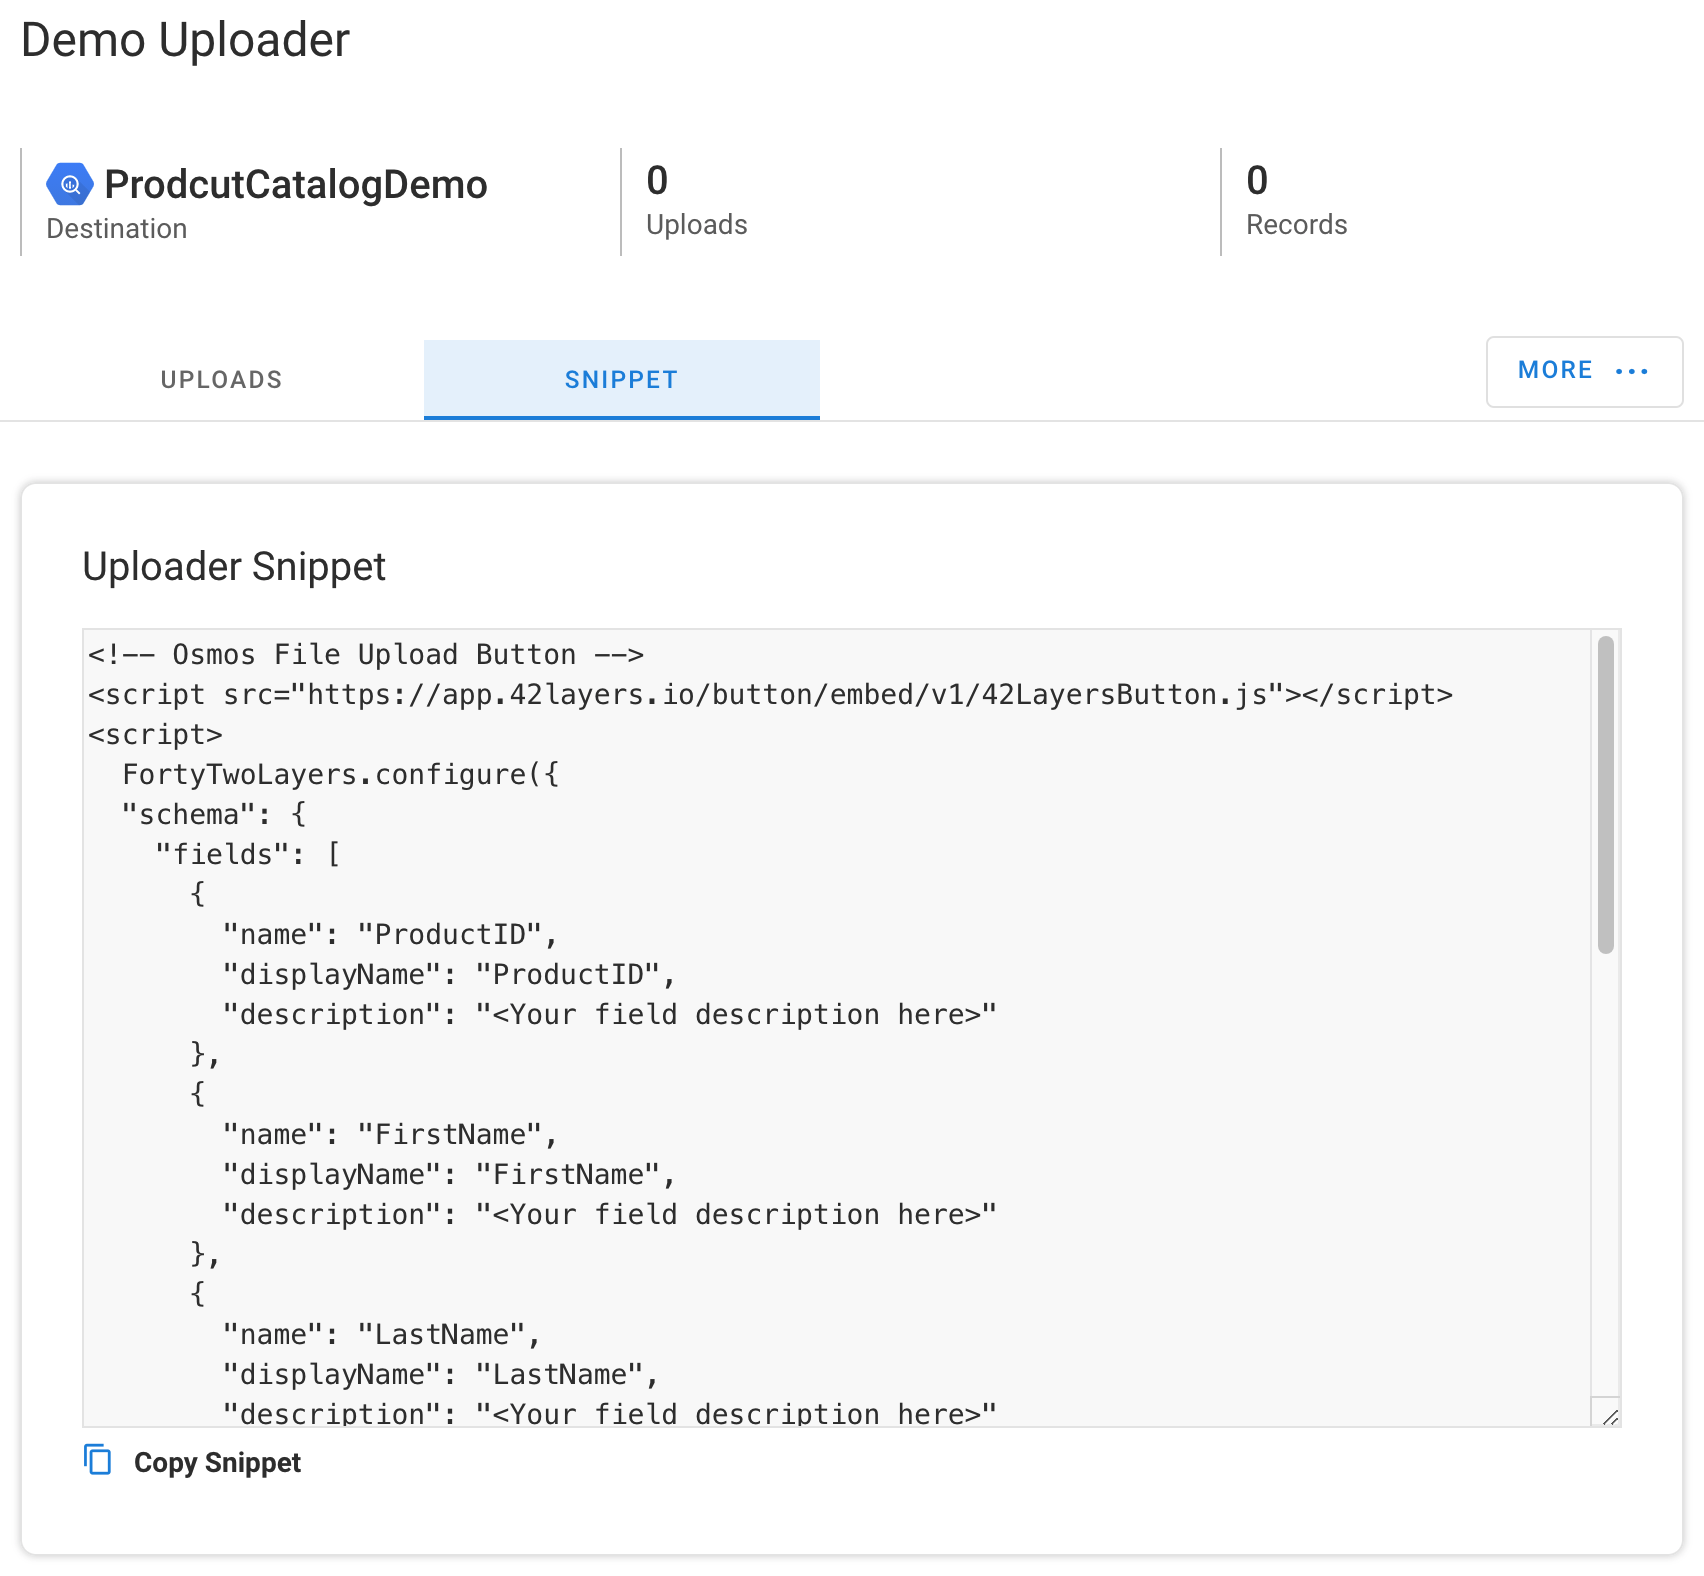
You can also add custom validation functions to the schema fields in the code snippet. This step ensures the data you receive is properly formatted so your databases are more useful and functional.
If you want to validate multiple fields, you must add a validation function to each field because the functions only work for a single field. Go ahead and run any code you want in the validation function, such as making network requests. But if the function takes a long time to run, the user uploading data may not be able to continue until it returns.
Keep in mind, the users won't be able to view or access these fields at any point in time.
3. Embed the Osmos Uploader
Once you've made modifications to the snippet, the Osmos Uploader is ready to embed. For more information on how to copy and paste it into any web property, you can follow the configuration instructions on our webpage integration page.
Once the Osmos Uploader is displayed on your page, users can begin to onboard data into your target system. We've designed this process to be highly intuitive, so it requires little technical skill.
Customers simply click the "Upload" button, and then drag and drop the file they want to send. Next, a view of the uploaded data appears. One side shows the format of their data, and the other side outlines how you want to receive the data (the predetermined schema).

Within this interface, users can quickly map, clean, and transform the data to fit your destination system’s schema. This can be done using AutoClean, Quickfixes, column mapping, and formulas.
When the user finishes mapping their data and clicks Continue, a screen appears to let them know the data has successfully uploaded.
4. Upload Clean CSV Data
Every time a customer or partner uses the Uploader to import their data it gets sent directly into your destination system matching your pre-determined schema. Take advantage of our prebuilt connectors and APIs to get started quickly.
.png)
The customer data is now imported into your system and ready to use. So the next time a customer or third party needs to send you data, simply refer them to the Osmos Uploader. Not only will they have a positive experience importing the data, but you'll enjoy the benefits of clean data and more efficient collaboration.
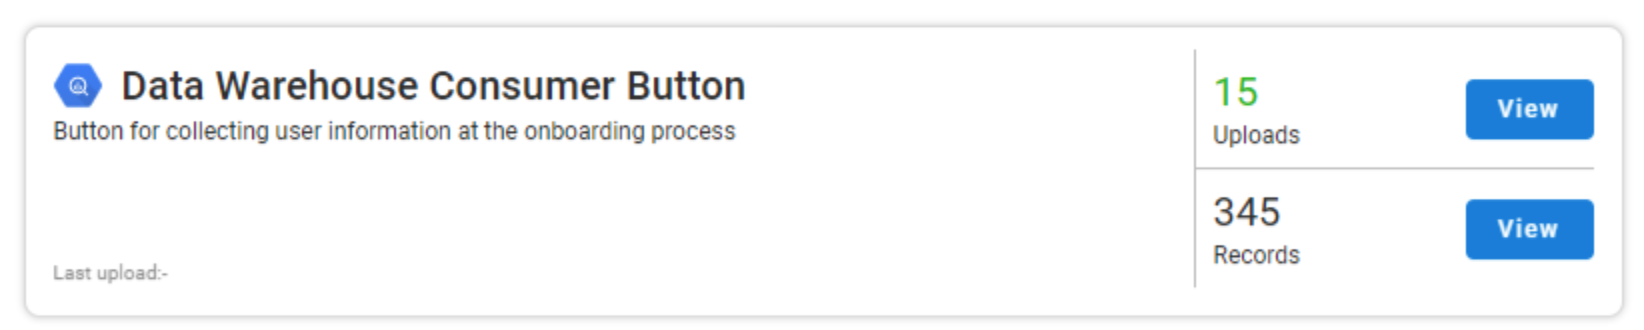
To test the Uploader and view the data, navigate to Osmos Uploader and select the Uploader you created, and click View to verify that the data is properly recorded and formatted.
Upload CSVs with Osmos Uploader
With Osmos Uploader, you can accelerate your customer data onboarding and get a faster time-to-value. Your end-users get a delightful self-serve experience to send you clean data every time. Plus, you save hundreds of engineering hours not manually cleaning CSV files or maintaining python scripts. It’s no wonder why hundreds of Osmos Uploaders are created every month.
See how Mosaic Empowers Customers to Upload Clean Data Every Time and Saved 1000s of Eng Hours
Go From Co-Pilot to Auto-Pilot
Discover our fully-autonomous AI Data Wrangler on Microsoft Fabric
Talk to an expert


%201.svg)